New in Xcode 16: the macro @Previewable
You’re more of a video kind of person? I’ve got you covered! Here’s a video with the same content than this article 🍿
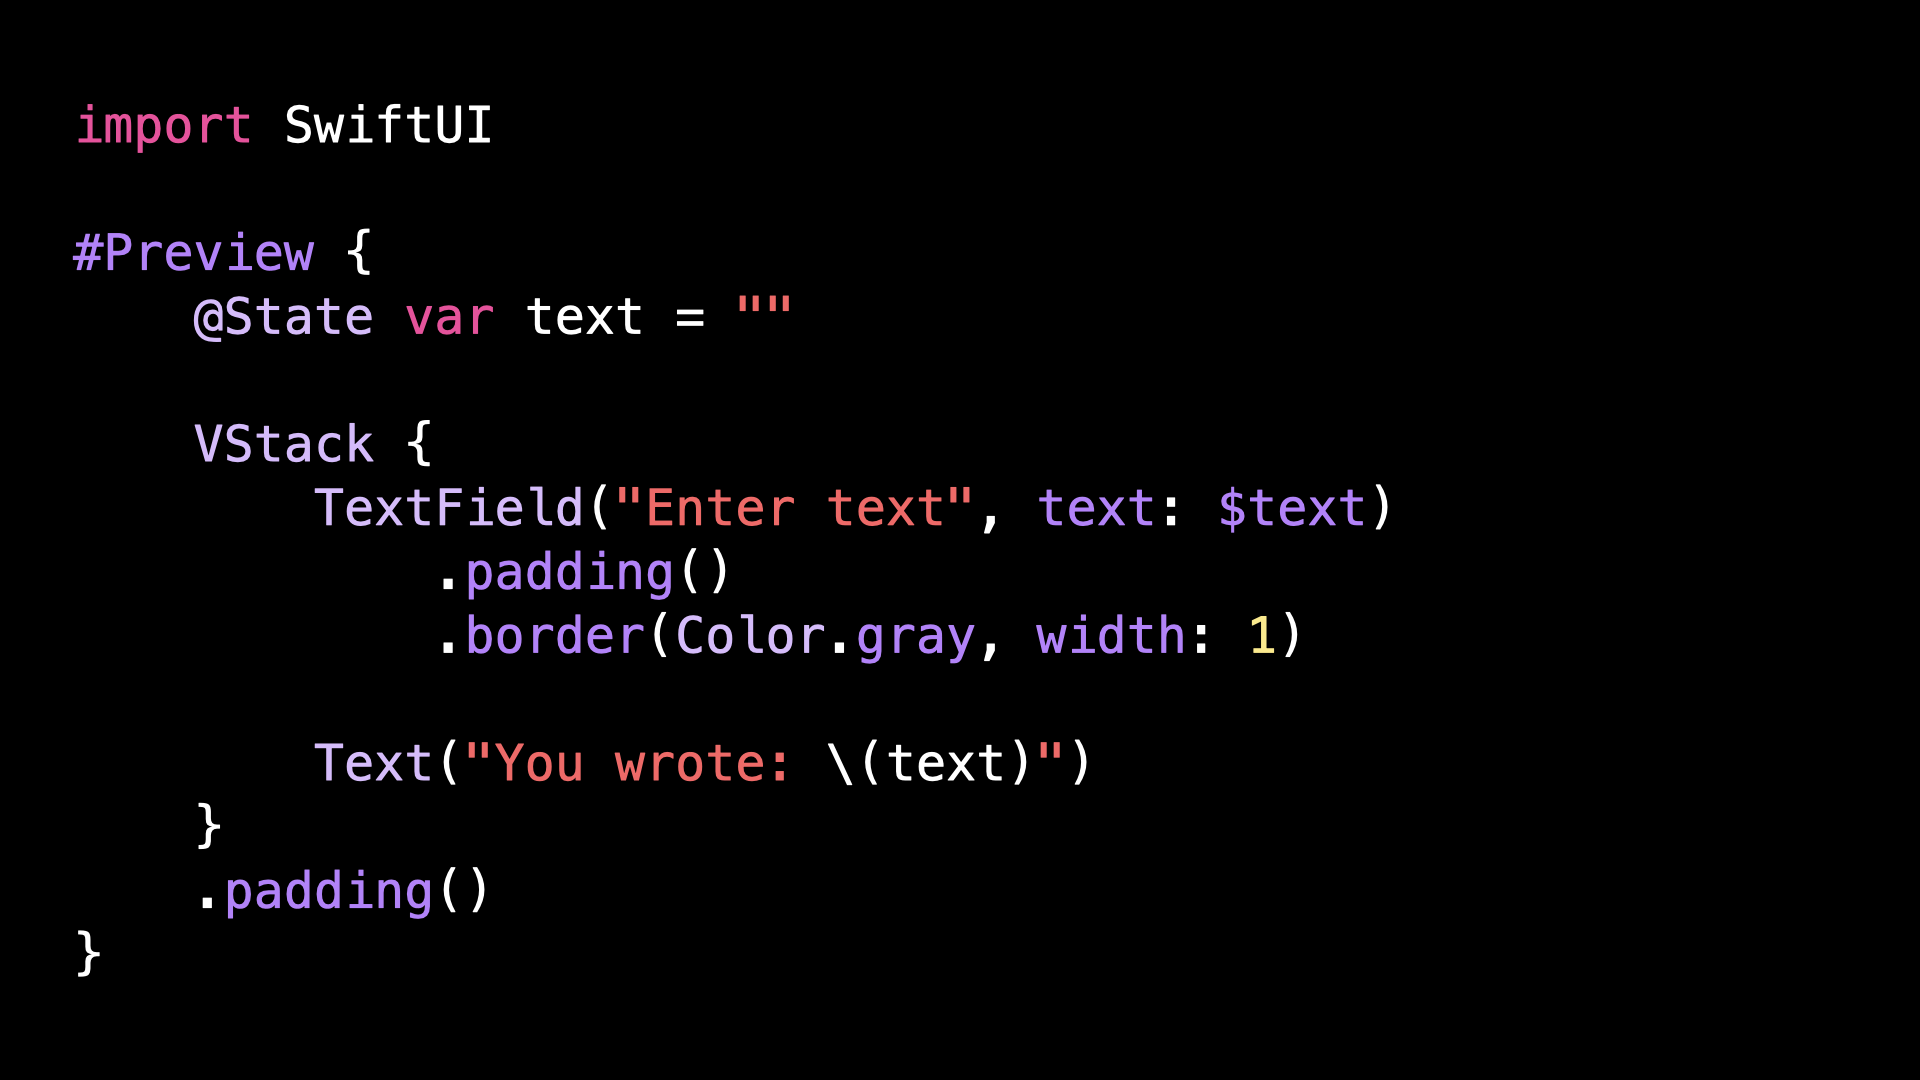
The first time that you want to use a SwiftUI View that takes a Binding as an argument inside a Preview, you might be tempted to create an @State property inside that Preview.
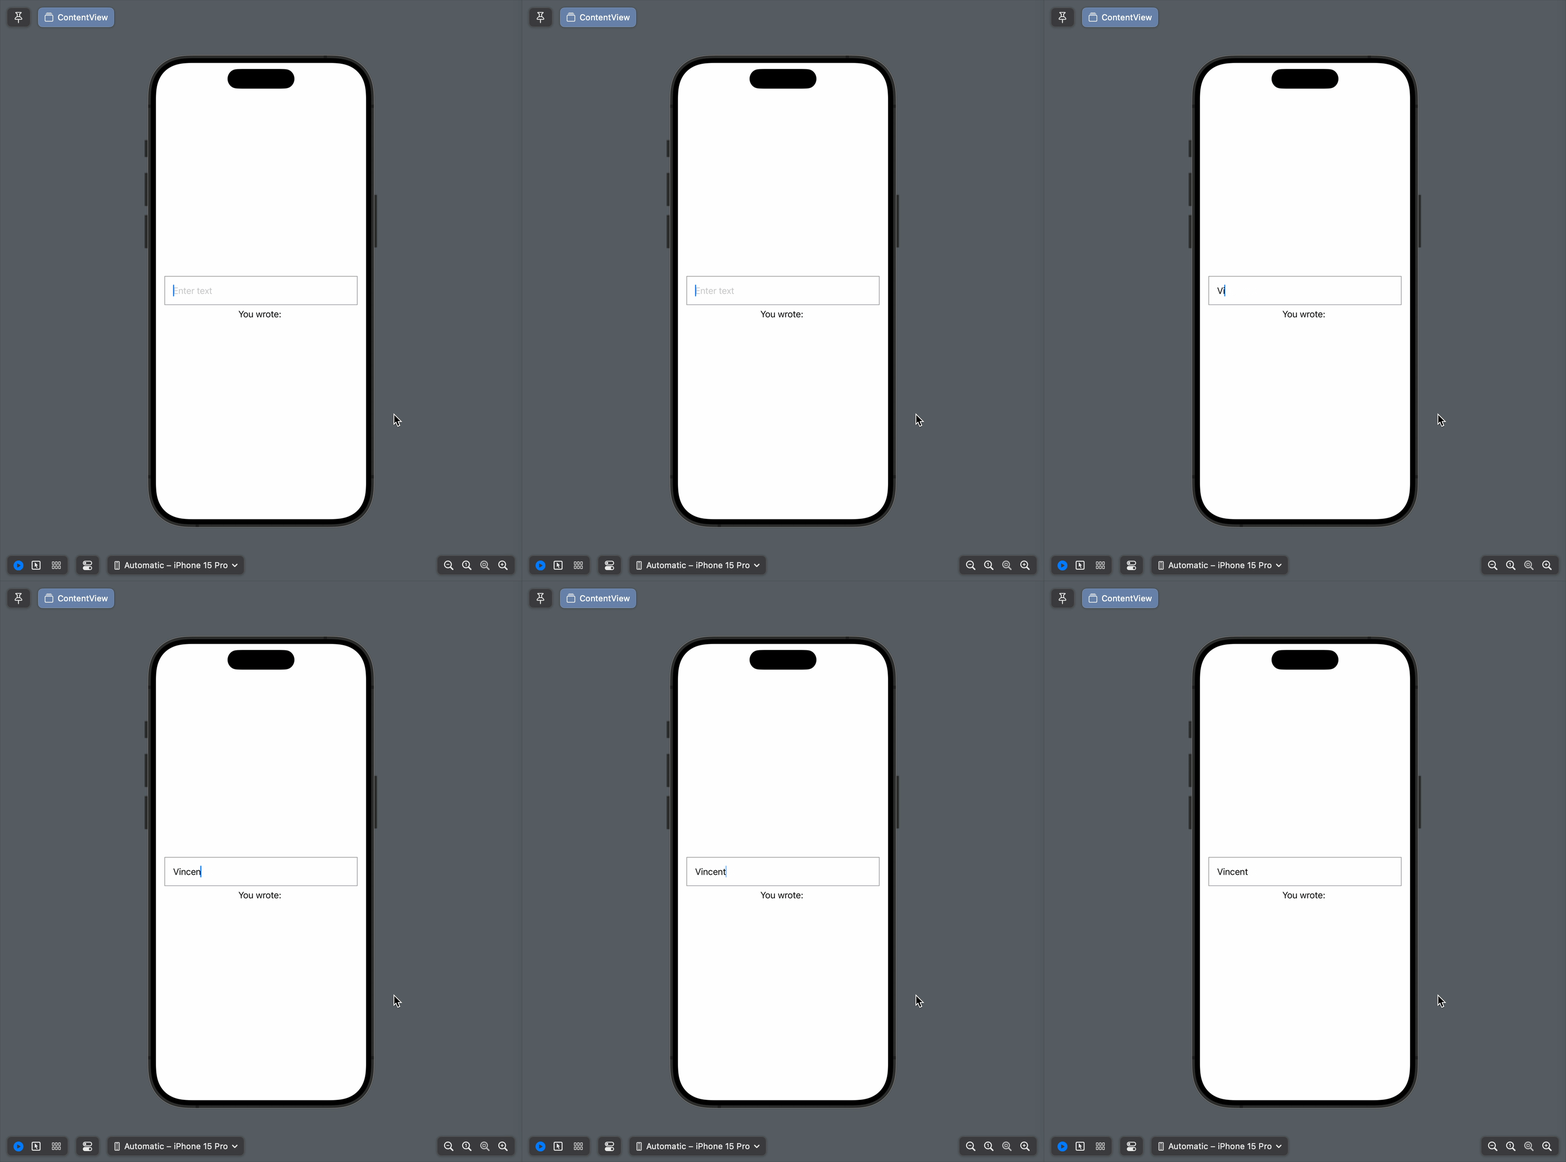
But while this code will build successfully, when you interact with the Preview you will see that your UI won’t get updated when the value of the property changes.
That’s actually normal, because @State only works when it’s used inside a SwiftUI View.
And when you use it in another context, like a Preview, it will not have any effect.
Until Xcode 16, here’s how you would solve this issue.
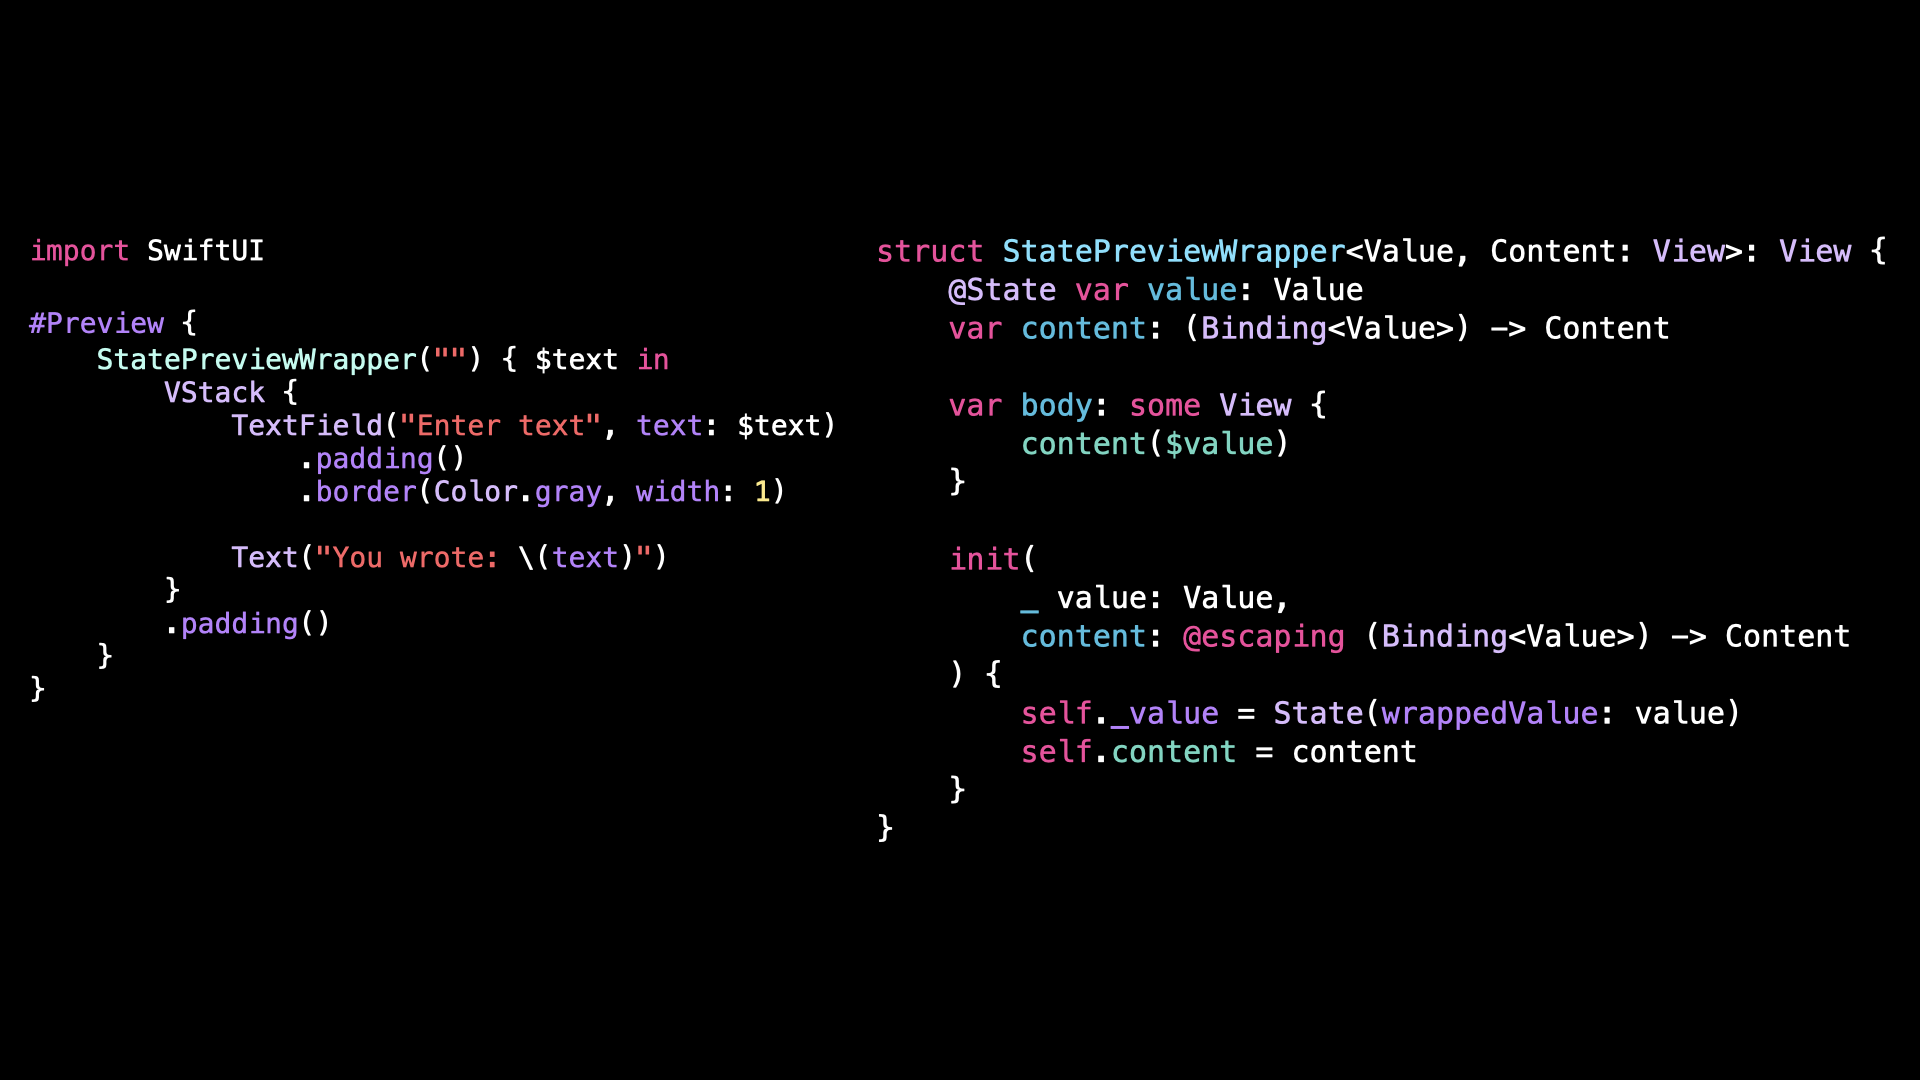
You would create a SwiftUI View whose job is to wrap the @State property and to expose a binding to that property to its child views.
As you can see, this approach works, but it’s a bit convoluted and it doesn’t scale well if you need more than one property.
But the good news is that Xcode 16 introduces a much simpler approach!
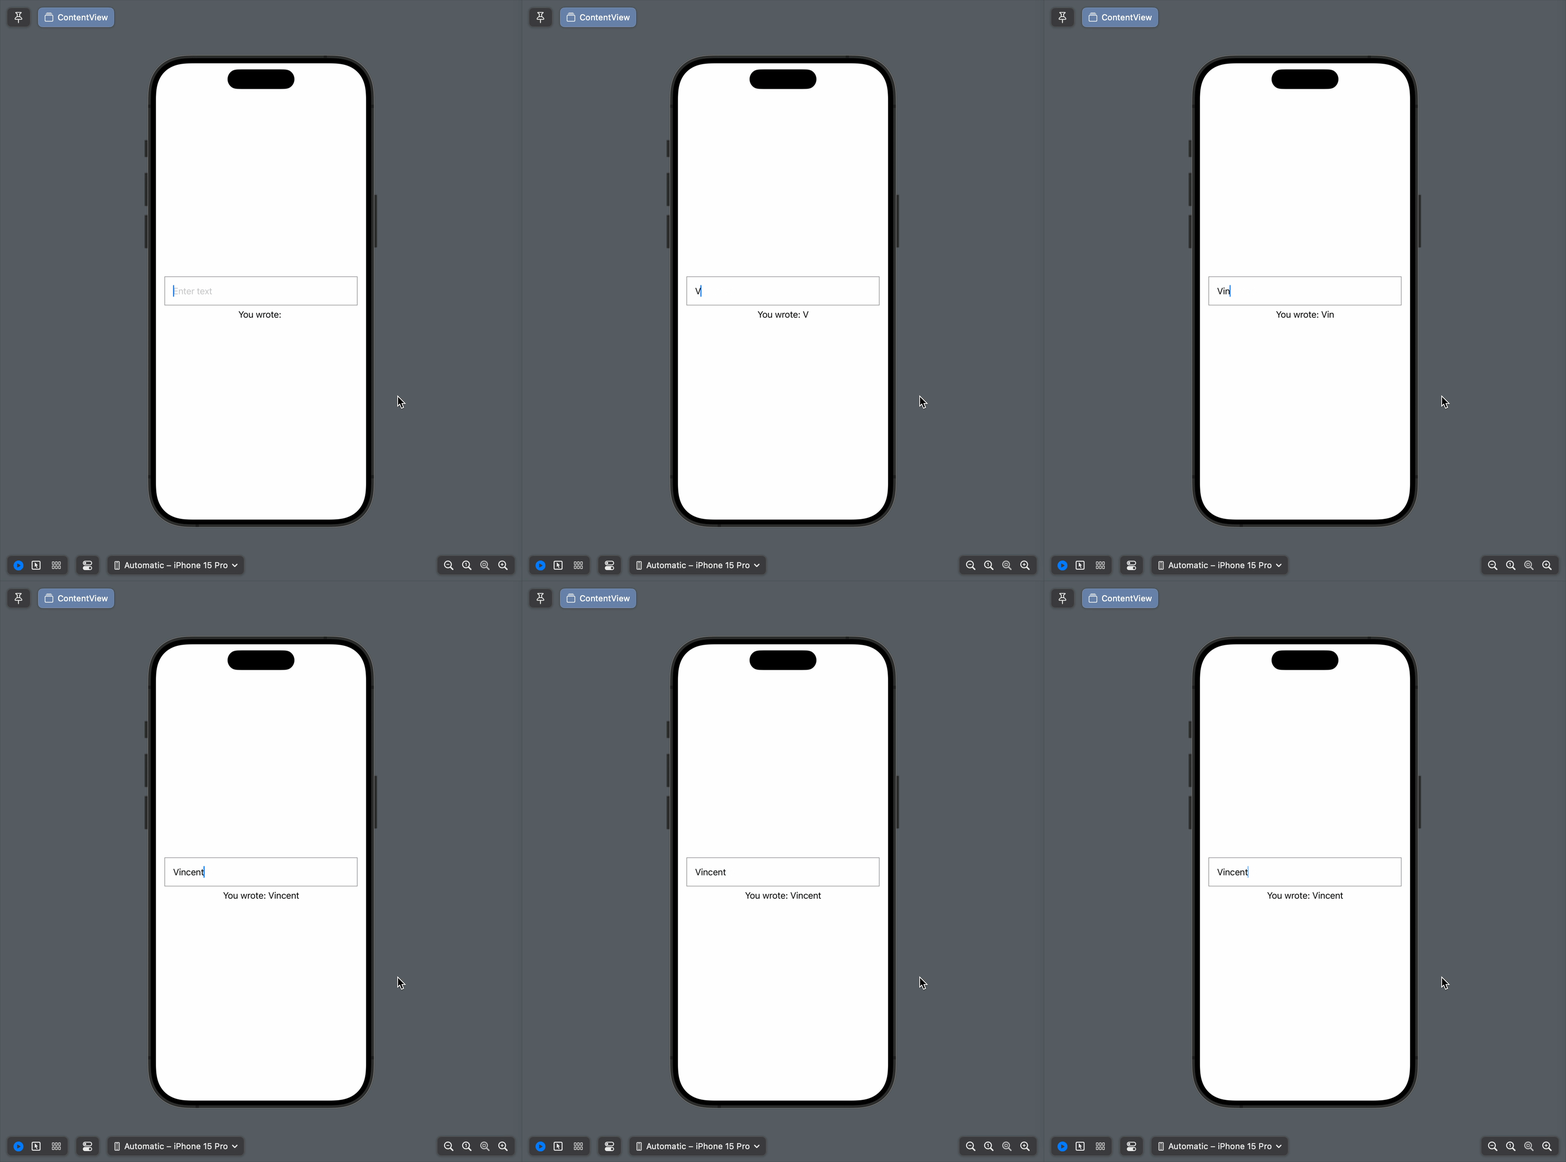
In Xcode 16, it’s become possible to use an @State property inside a Preview: all you need to do is add the macro @Previewable to the declaration.
And just by adding this macro, everything now works correctly and our view gets updated when the value of the property changes.
If you’re wondering how the macro @Previewable works, we can have a look by asking Xcode to expand the macro.
It turns out that it actually uses the exact same trick that I’ve showed you just before: it encapsulates the @State property inside an intermediary View:
But what’s great is that thanks to the macro, all of this code now gets automatically generated for us!
That’s all for this article, I hope you’ve enjoyed discovering this new quality of life improvement in Xcode 16!
Here’s the code if you want to experiment with it:
import SwiftUI

#Preview {
    @Previewable @State var text = ""

    VStack {
        TextField("Enter text", text: $text)
            .padding()
            .border(Color.gray, width: 1)

        Text("You wrote: \(text)")
    }
    .padding()
}


